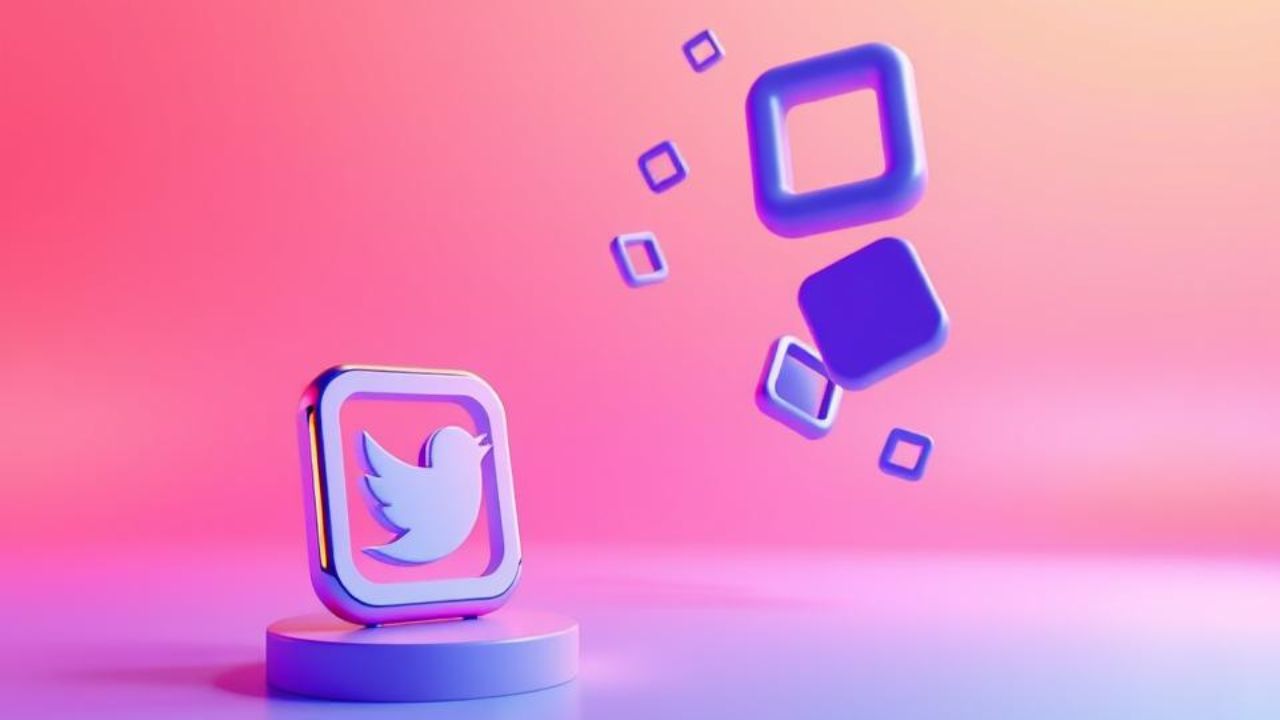
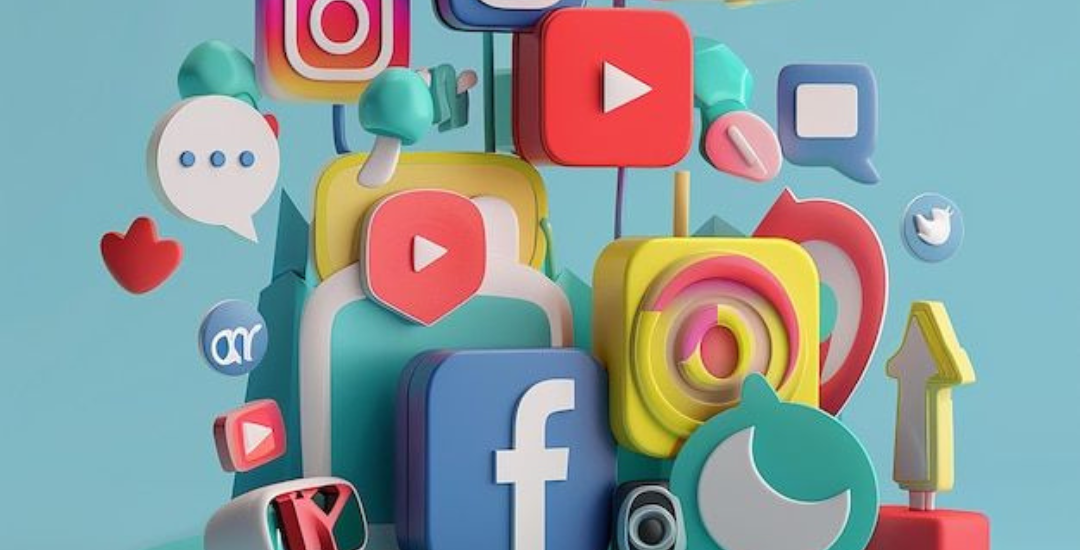
3D Social Media Images: A Quick and Easy Tutorial
Did you know that posts with 3D visuals on social media can boost engagement by up to 40%? If you want to make your online presence pop, I’ve got a simple trick for you. It’s all about creating eye-catching 3D social media graphics.
In this tutorial, I’ll show you how to make eye-catching 3D images for your social media. With the right tools and techniques, you can create stunning visuals that grab your audience’s attention.

By the end of this tutorial, you’ll know how to create compelling 3D content that makes your brand stand out. Let’s explore the world of 3D social media graphics design together. Discover how it can change your online presence.
Why 3D Social Media Images Stand Out in Your Feed
Creative social media visuals, like 3D images, help you stand out. They make your online presence stronger. This grabs the attention of your audience.
This leads to more engagement. It makes your followers’ experience more interactive.
Essential Tools for Creating 3D Social Media Images
To make top-notch 3D social media images, you need the right tools. Start by learning about the software and hardware needed for 3D design and rendering.
Free Software Options Available in India
In India, Blender is a great free choice for 3D modeling and rendering. It has lots of features and a big community to help you.
Paid Software Worth the Investment
If you want more advanced tools, think about Autodesk Maya or 3ds Max. These are top picks for design tools for social media images and are favorites in the industry.
Basic Hardware Requirements
You’ll need a good computer. It should have a dedicated graphics card, at least 8GB of RAM, and a multi-core processor. This setup is key for smooth 3D work.
How to Create 3D Social Media Images: My Step-by-Step Process
I’ll show you how to make 3D social media images that grab your audience’s attention. These images will make your visual content for social platforms stand out.
Creating engaging 3D social media content takes a few steps. First, you need a clear plan. Then, you need the right tools and techniques.
Step 1: Planning Your 3D Design Concept
Begin by brainstorming ideas that match your brand and message. Think about the theme, colors, and overall look you want. Sketching out your concept helps solidify your vision. It makes sure it connects with your target audience.
Step 2: Building Basic 3D Elements
Start building the basic elements of your 3D design using your chosen software. Create shapes and structures that will be the base of your image. Keep it simple at first, then add more complexity as needed.
Step 3: Adding Textures and Materials
To add depth and realism to your 3D image, add textures and materials. This step is key for making your image look good. Try different textures to find the best fit for your design.
Step 4: Setting Up Lighting for Dimension
Lighting is crucial for the dimension of your 3D image. Adjust the lighting to highlight important features and create shadows. Play around with different lighting effects until you get the look you want.
Rendering and Optimizing Your 3D Images for Social Media Platforms
The process of rendering and optimization brings your 3D creations to life on social media. It boosts your social media branding visuals.
Understanding the rendering process and platform specs is key for high-quality visuals.
Choosing the Right Render Settings for Quality
Choosing the right render settings is crucial for quality. You need to balance resolution, texture detail, and rendering time. For example, a higher resolution means more detail but takes longer to render.
Size and Format Guidelines for Instagram, Facebook, and Twitter
Each social media platform has its own image size and format needs. Instagram likes square or vertical images, while Facebook and Twitter accept various aspect ratios. Making sure your 3D images fit these specs is vital for effective social media graphics design.
- Instagram: 1080 x 1080 pixels (square), 1080 x 1350 pixels (vertical)
- Facebook: 1200 x 630 pixels (recommended)
- Twitter: 1024 x 512 pixels (recommended)
Quick Post-Processing Enhancements
After rendering, quick post-processing can enhance your 3D images. Adjusting brightness, contrast, and saturation can make them more engaging. Adobe Photoshop or Lightroom are great tools for these tweaks.
Advanced Techniques to Make Your 3D Social Media Images Pop
To make your 3D social media images stand out, try advanced techniques. These can grab users’ attention and make your visuals more engaging. They help you connect with your audience and boost your online presence.
Creating Depth with Strategic Shadows and Highlights
Using shadows and highlights wisely can make your 3D designs pop. By balancing light and shadow, you add depth. This draws the viewer in and makes your images more appealing.
Adding Simple Animation Effects
Simple animations can make your 3D social media images more engaging. Even small animations, like rotating or pulsing, can add life to your content.
Incorporating Your Brand Elements Effectively
Adding your brand elements, like logos and colors, to your 3D designs strengthens your brand. Being consistent helps build recognition across your social media. This is crucial for a strong brand identity.
Common Mistakes to Avoid When Creating 3D Social Media Content
To make your 3D social media content stand out, it’s crucial to steer clear of typical errors. When creating 3D social media images, avoid overusing effects and ensure your content is optimized for each platform. Use design tools for social media images that offer flexibility and control.
- Poor rendering settings can lead to low-quality images.
- Inconsistent branding can dilute your message.
- Ignoring platform-specific guidelines can result in poorly displayed content.
Conclusion
Making 3D social media images is a great way to boost your visual content. This guide has shown you how to make amazing 3D images. You now know the key tools and steps to follow.
Now, it’s time to try out new things and tell stories in a unique way. With practice, you’ll make 3D content that grabs people’s attention. This will help your brand stand out.
FAQ
What software is best for creating 3D social media images?
The best software for 3D social media images varies by skill and budget. Beginners might like free options like Blender. Professionals might prefer paid tools like Adobe Substance Designer or Autodesk Maya.
How do I optimize my 3D images for different social media platforms?
To optimize your 3D images, check each platform’s size and format guidelines. For example, Instagram likes 1080 x 1080 pixels, while Facebook prefers 1200 x 630 pixels. Tools like Canva or Adobe Creative Cloud can help adjust your images.
Can I use 3D social media images for branding and advertising?
Yes, 3D images are great for branding and ads. Adding your brand’s logos and colors makes your content stand out and engage your audience.
How do I add animation effects to my 3D social media images?
To add animations, use software like Blender or Adobe After Effects. These tools let you create animations like rotating or scaling your 3D models to make them more appealing.
What are some common mistakes to avoid when creating 3D social media content?
Avoid overcomplicating designs, neglecting platform optimization, and missing brand elements. Being aware of these mistakes helps you create top-notch 3D social media content.
How can I ensure my 3D social media images are visually appealing?
For visually appealing images, focus on depth with shadows and highlights. Use textures and materials to enhance the look. Try different lighting setups to get the best effect.
What are the benefits of using 3D social media images?
3D images boost engagement and visual appeal. They help communicate complex ideas clearly and concisely. Using 3D graphics can make your social media content pop and stand out.


